Guides

How to Install a Helix Pro Invicta Undergrip (Step-by-Step Guide)

Helix Pro Invicta Undergrip

Installation in 1 minute. No glue. No wrapping. No compromise.

The Helix Pro Invicta Undergrip isn’t installed like a traditional wrap-style grip. There’s no spiraling, no finishing tape, and no uneven overlap.

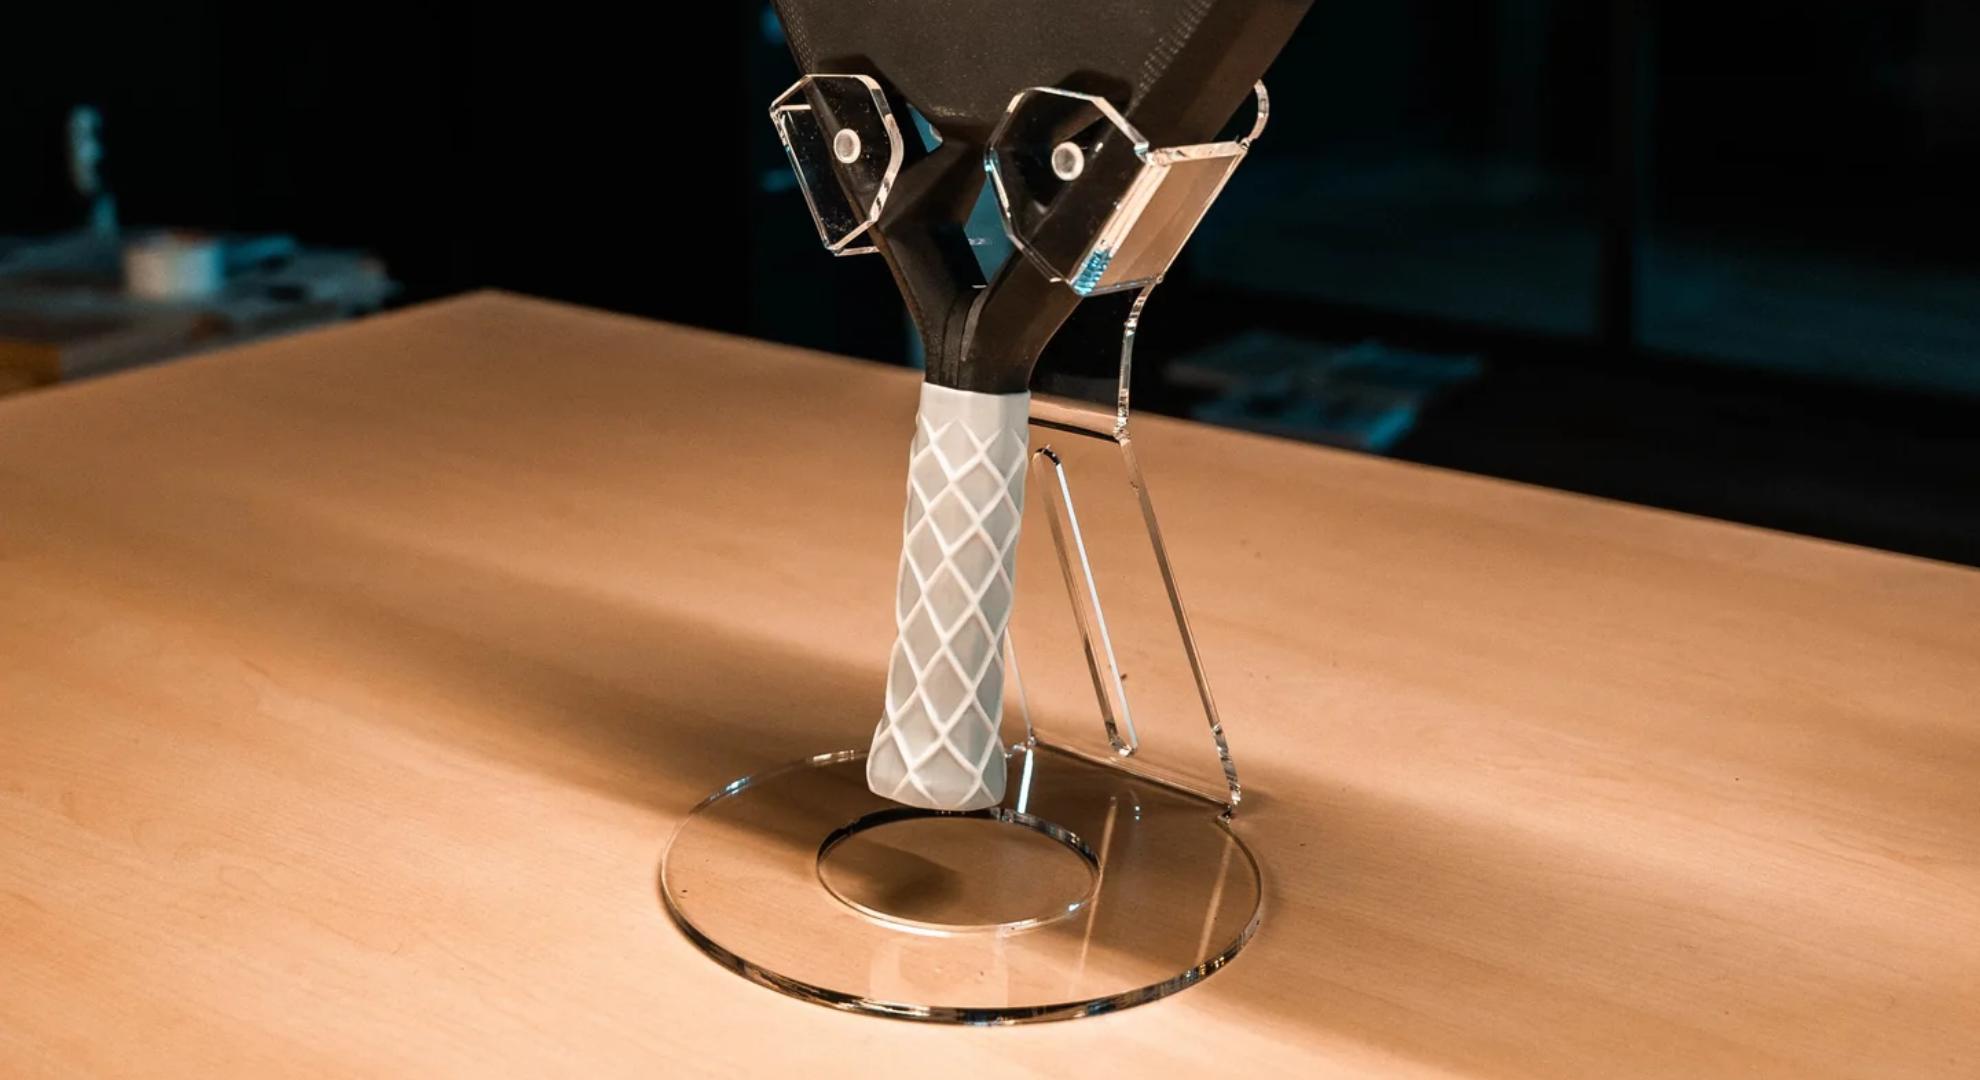
Instead, Invicta uses an advanced compression slide-on system designed for speed, precision, and performance.

If you're serious about performance, this guide shows you exactly how to install your Helix Pro Invicta Undergrip correctly, and why this system changes everything.

Why the Helix Pro Invicta Undergrip Is Different

Traditional undergrips require:

  • Wrapping at a precise angle
  • Even overlapping
  • Adhesive backing
  • Finishing tape

That leaves room for inconsistency.

The Helix Pro Invicta Undergrip eliminates installation error entirely.

Its compression-core sleeve technology delivers:

  • Uniform handle thickness
  • Maximum shock absorption
  • Zero air bubbles
  • No glue or adhesive
  • A clean, professional finish

This means better control, improved comfort, and consistent feel - every time.

Step-by-Step: How to Install a Helix Pro Undergrip

Step 1: Remove Your Old Grip

Before installing your Invicta Undergrip:

  • Fully remove your existing grip.
  • Clean the handle to remove dust or adhesive residue.
  • Ensure the surface is completely dry.

For best performance, always install directly onto the bare handle.

Step 2: Insert

Slide the Helix Pro Invicta Undergrip over the top of the racket handle.

The internal compression sleeve expands slightly to glide smoothly over the handle.

Push it down evenly until it reaches the base.

There’s no wrapping required. The sleeve design ensures a perfectly even fit.

Step 3: Pull

Once positioned, pull the internal installation strip downward in one firm, smooth motion.

This activates the compression system, locking the Invicta Undergrip securely into place.

You’ll feel it tighten and seat evenly around the handle.

No glue.
No finishing tape.
No shifting.

Step 4: Cut

Using the included precision cutter:

  • Trim the excess installation strip cleanly.
  • Remove the strip completely.

That’s it.

Your Helix Pro Invicta Undergrip is now fully installed and match-ready.

Benefits of the Helix Pro Invicta Undergrip

The Invicta Undergrip is engineered for:

  • Advanced sweat control
  • Superior comfort
  • Maximum grip stability
  • Long-lasting durability
  • Reduced vibration and arm strain

It creates the perfect foundation layer for players who demand consistency and control in every shot.


Helix-Pro-Invicta-Undergrip


Frequently Asked Questions

Do I need glue to install the Helix Pro Invicta Undergrip?

No. The compression locking system secures it in place.

Can I install it over another grip?

For optimal performance and fit, install directly on the bare handle.

How long does installation take?

Less than one minute once you’re familiar with the process.


The Helix Pro Invicta Undergrip is not just another undergrip - it’s a performance foundation.

Its compression slide-on installation system removes guesswork and guarantees a consistent, professional result every time.

Insert. Pull. Cut. Play.

Because elite performance starts with your connection to the racket.